
Understanding the Installation Process: What to Expect with SPC Flooring
Introduction to SPC Flooring
Stone Plastic Composite (SPC) flooring has gained popularity due to its durability, aesthetic appeal, and ease of installation. Whether you're renovating a home or upgrading a commercial space, understanding the installation process of SPC flooring can help ensure a smooth project. This guide will walk you through what to expect when installing SPC flooring.
Preparing for Installation
Gathering Materials and Tools
Before starting the installation, it's crucial to gather all necessary materials and tools. These typically include SPC flooring planks, underlayment (if required), a utility knife, a tape measure, spacers, a rubber mallet, and a saw for trimming. Having everything on hand will make the process more efficient.
Acclimatizing the Flooring
SPC flooring should be acclimatized to the room's temperature and humidity for at least 48 hours prior to installation. This step helps prevent future warping or buckling. Simply lay the planks out in the room where they will be installed to adjust to the environment.

The Installation Process
Preparing the Subfloor
Ensuring the subfloor is clean, dry, and level is crucial for a successful installation. Remove any debris, and fill in low spots with a leveling compound if necessary. An uneven subfloor can lead to issues down the line, so take the time to prepare it properly.
Laying the Underlayment
If your SPC flooring requires underlayment, install it before laying down the planks. The underlayment acts as a moisture barrier and provides additional cushioning, enhancing the comfort and durability of your new floor.

Installing the SPC Flooring
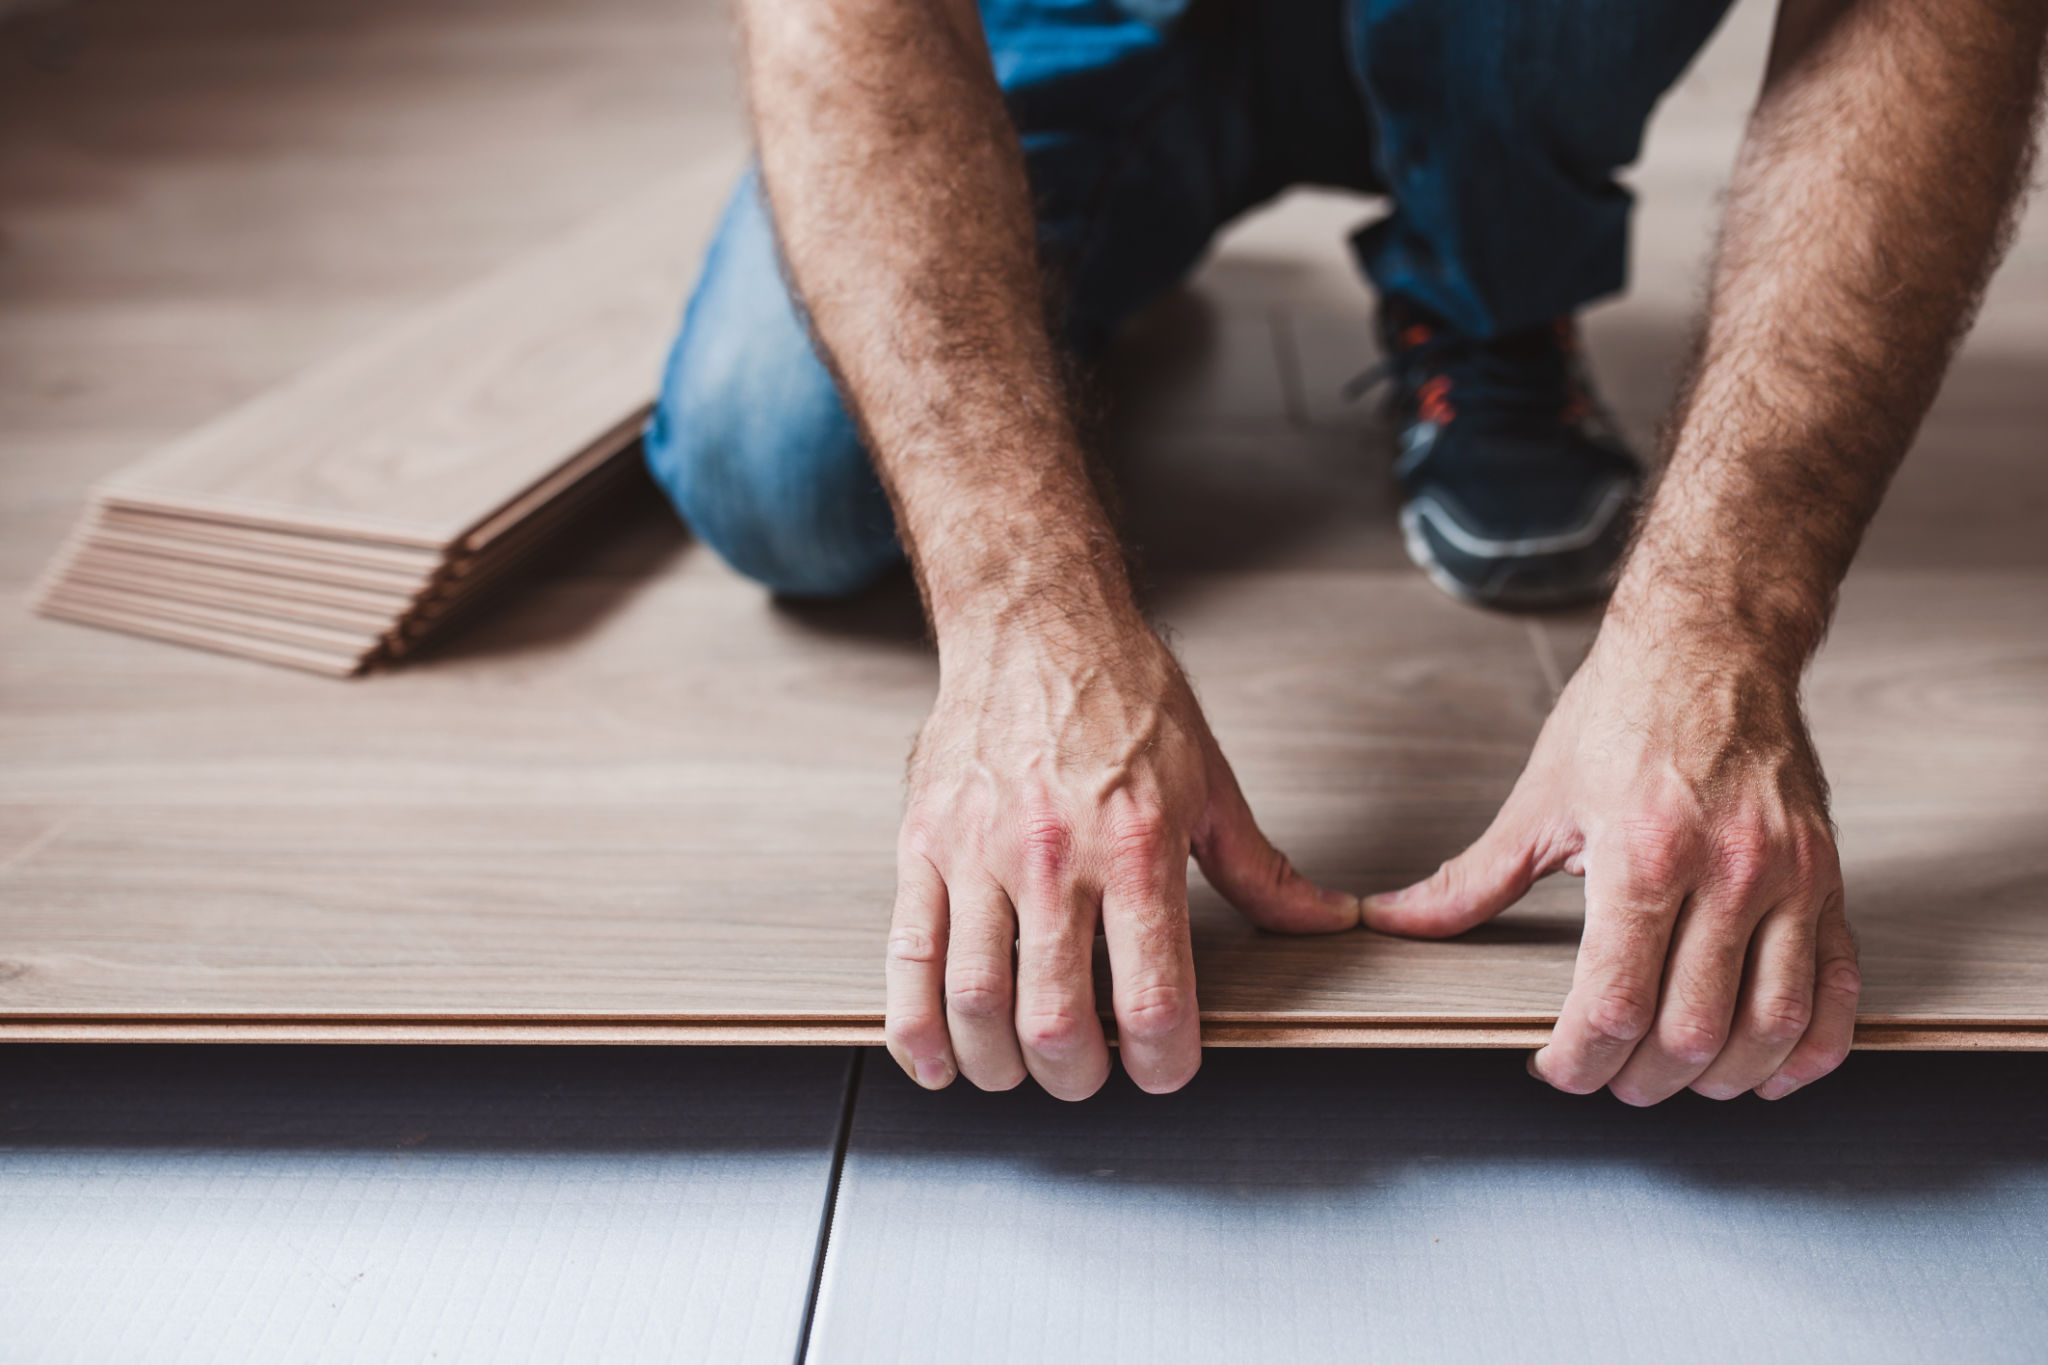
Starting with the First Row
Begin installation by placing spacers along the walls to allow for expansion. Lay the first row of planks against the spacers, ensuring they're straight and aligned. It's important to double-check this row as it sets the foundation for the rest of the flooring.
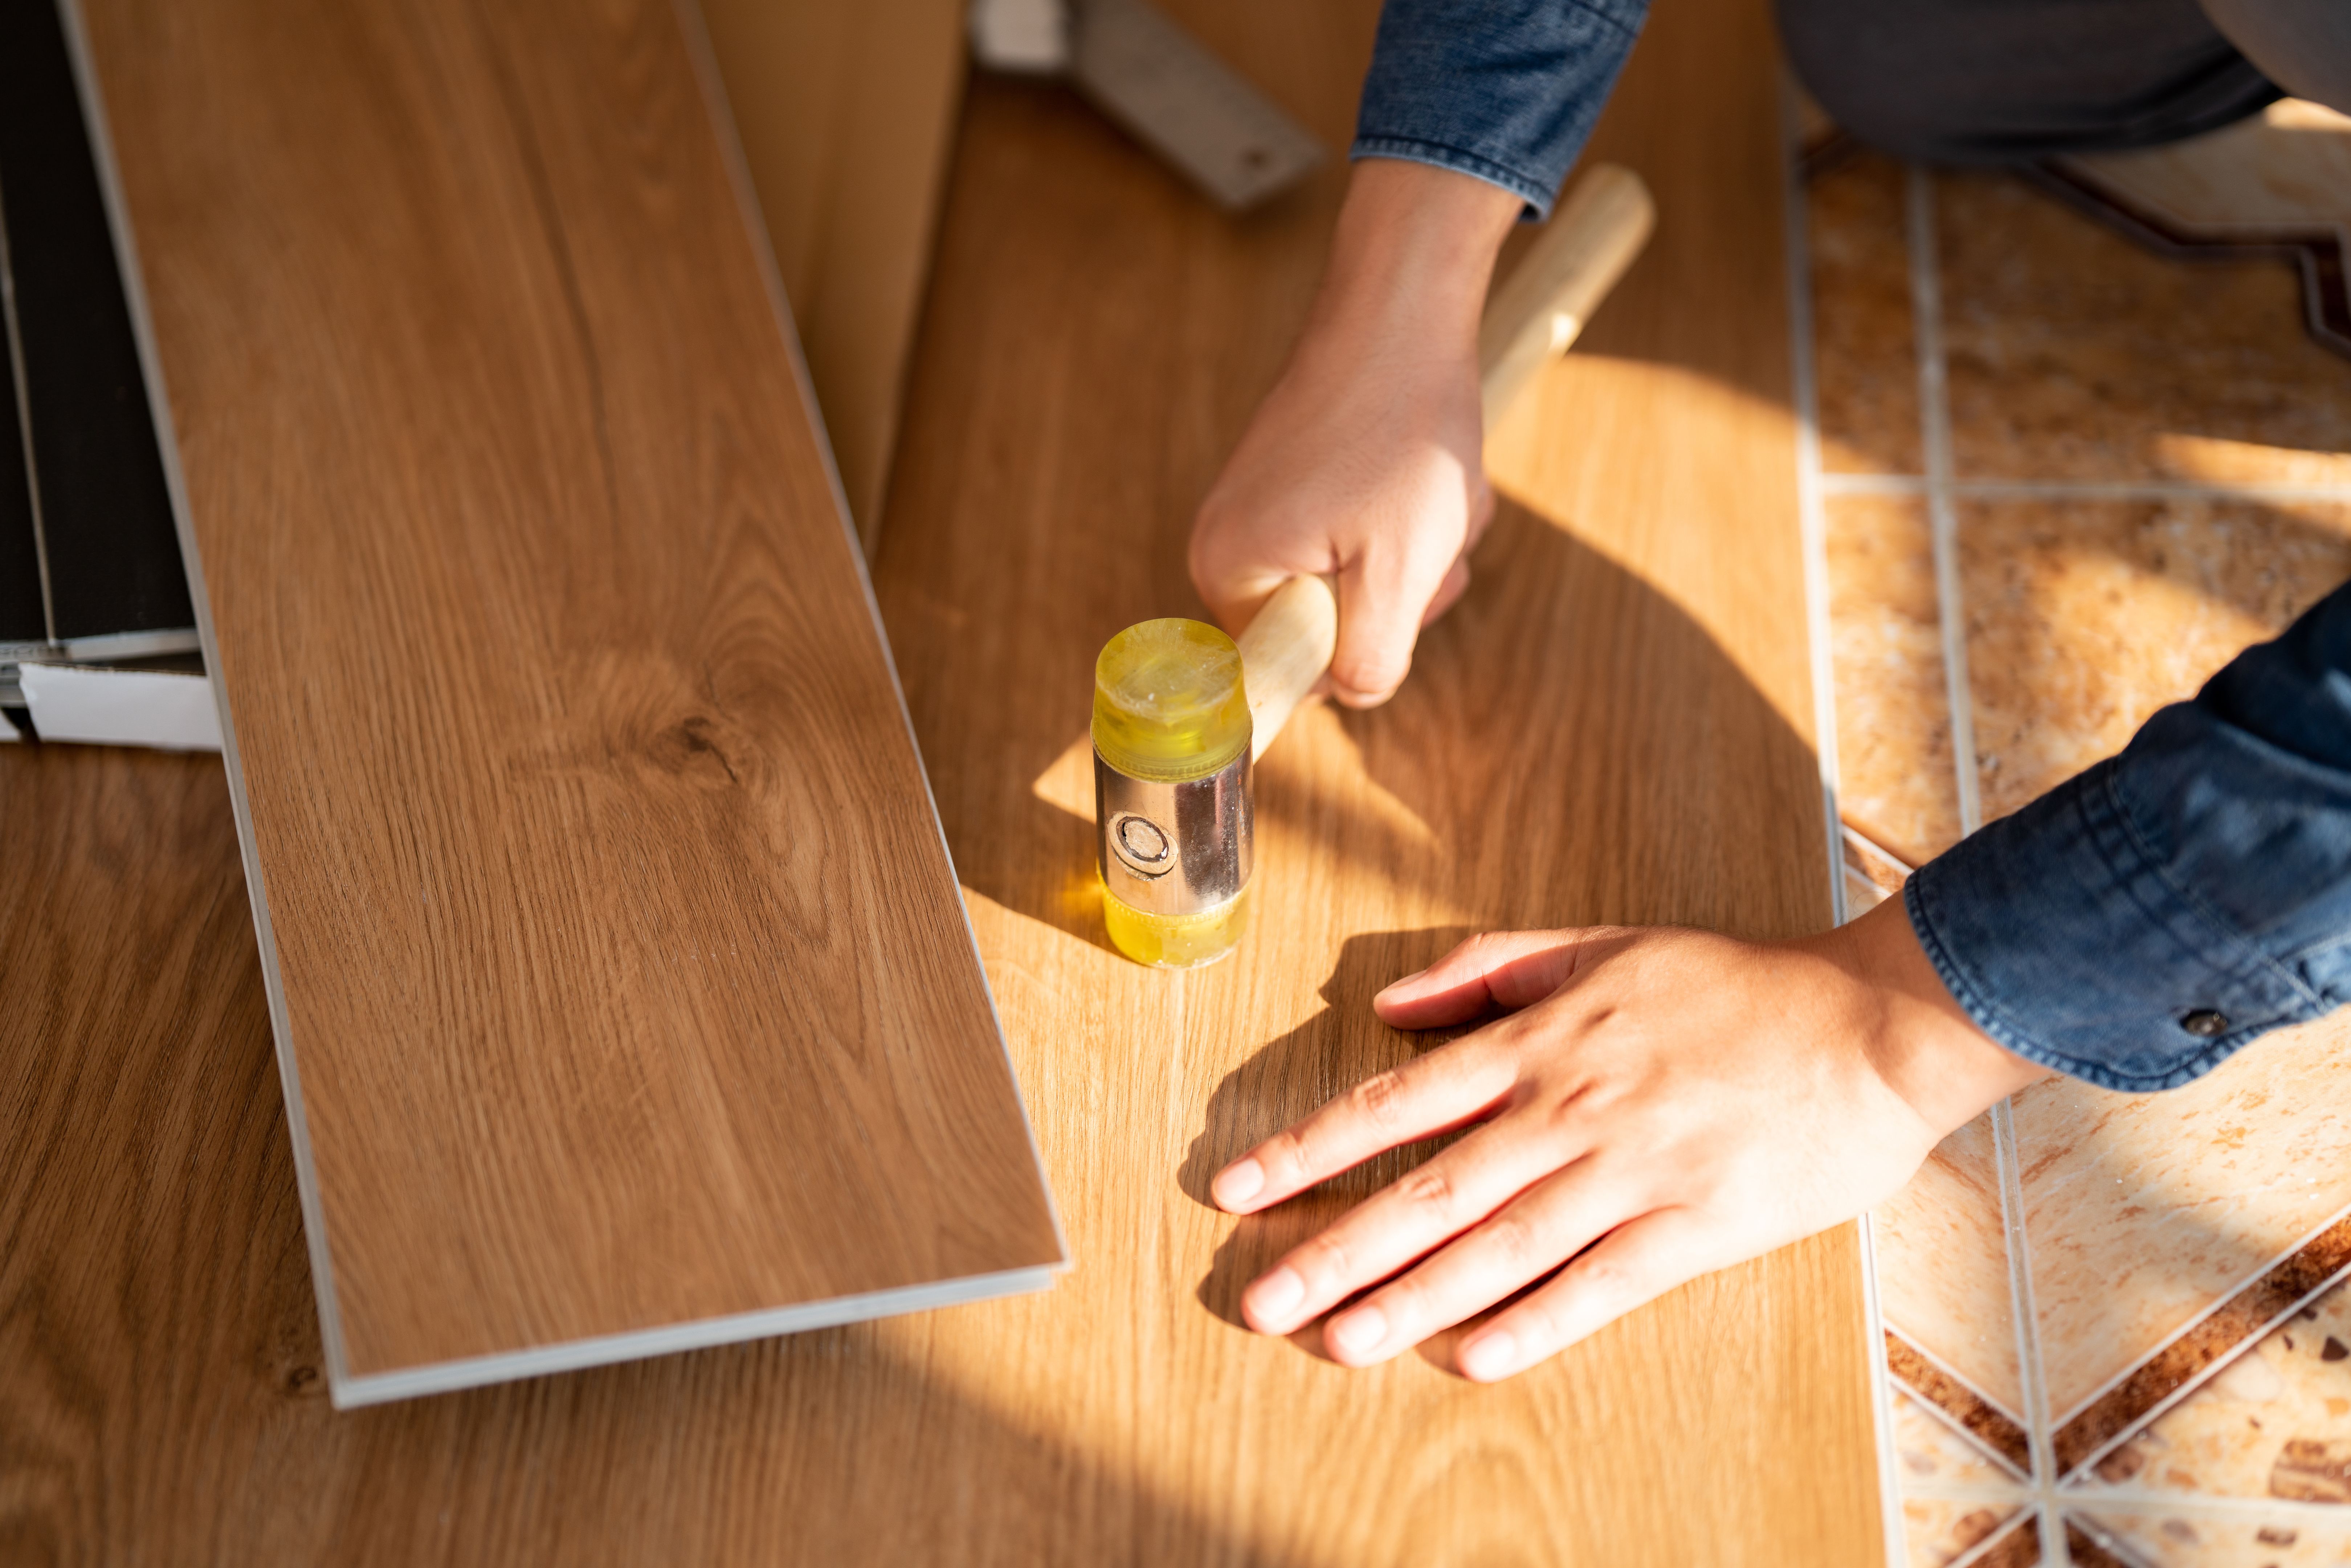
Connecting the Planks
Most SPC flooring features a click-lock system that makes connecting planks straightforward. Align the tongue of one plank with the groove of another and click them into place. Use a rubber mallet to ensure snug fits without damaging the edges.
Finishing Touches
Trimming and Fitting
As you reach the final rows, you may need to trim planks to fit properly. Measure carefully and use a saw to cut to size. Ensure that all edges are tight against spacers or existing flooring for a seamless look.
Removing Spacers and Adding Molding
Once all planks are installed, remove the spacers and add molding or baseboards to cover expansion gaps. This step not only enhances aesthetics but also secures the flooring in place.
Conclusion
Installing SPC flooring is a manageable project that can significantly enhance your space's appearance and functionality. By understanding each step of the process—from preparation to finishing touches—you'll achieve a professional-looking installation that stands up to daily wear and tear. Enjoy your new SPC floors and the elegance they bring to your environment!